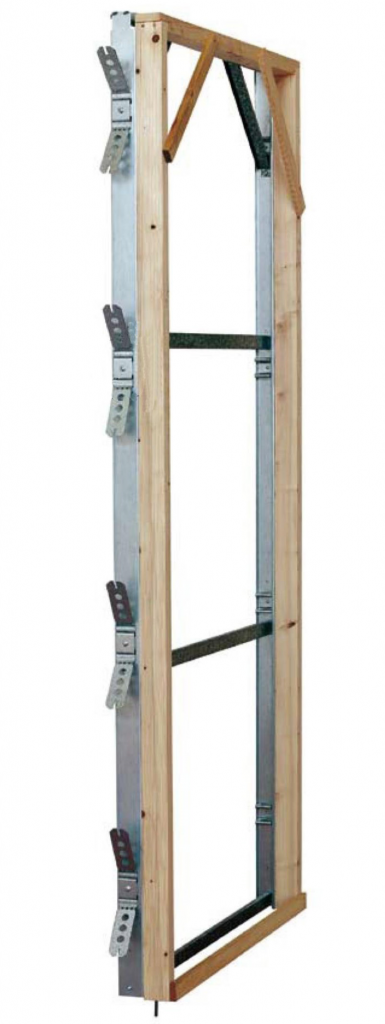
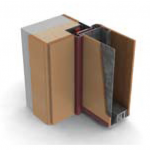
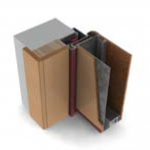
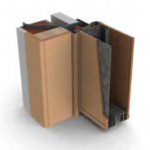
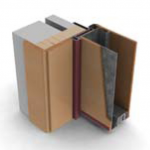
Mixed
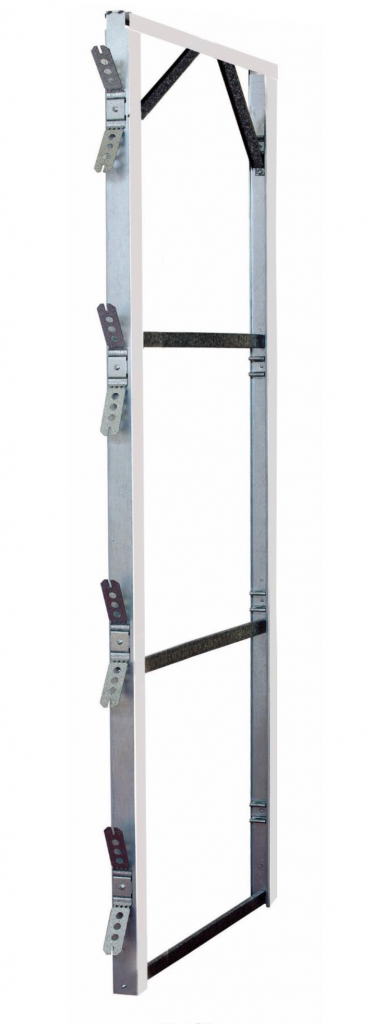
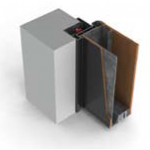
Metallic
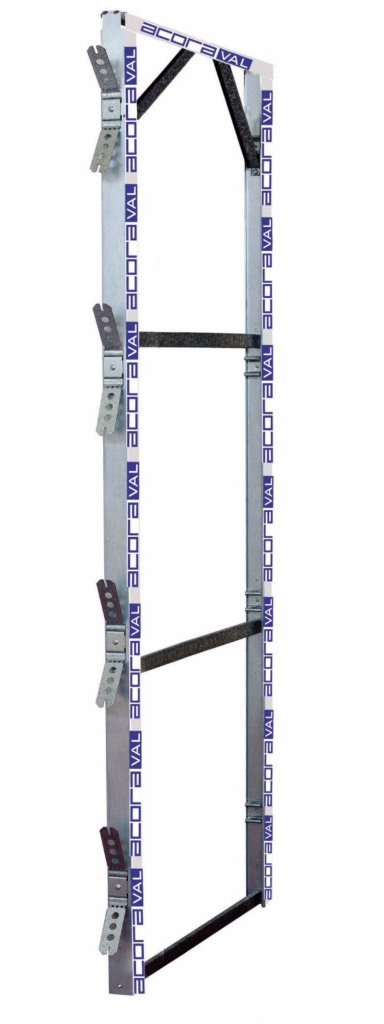
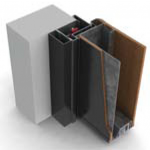
Metallic with pletina
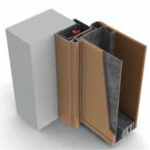
Indoor installation
The subframe is a fundamental and important part in the armored door because it is the component who bear the weight of the door and transmit the fixation to the wall.
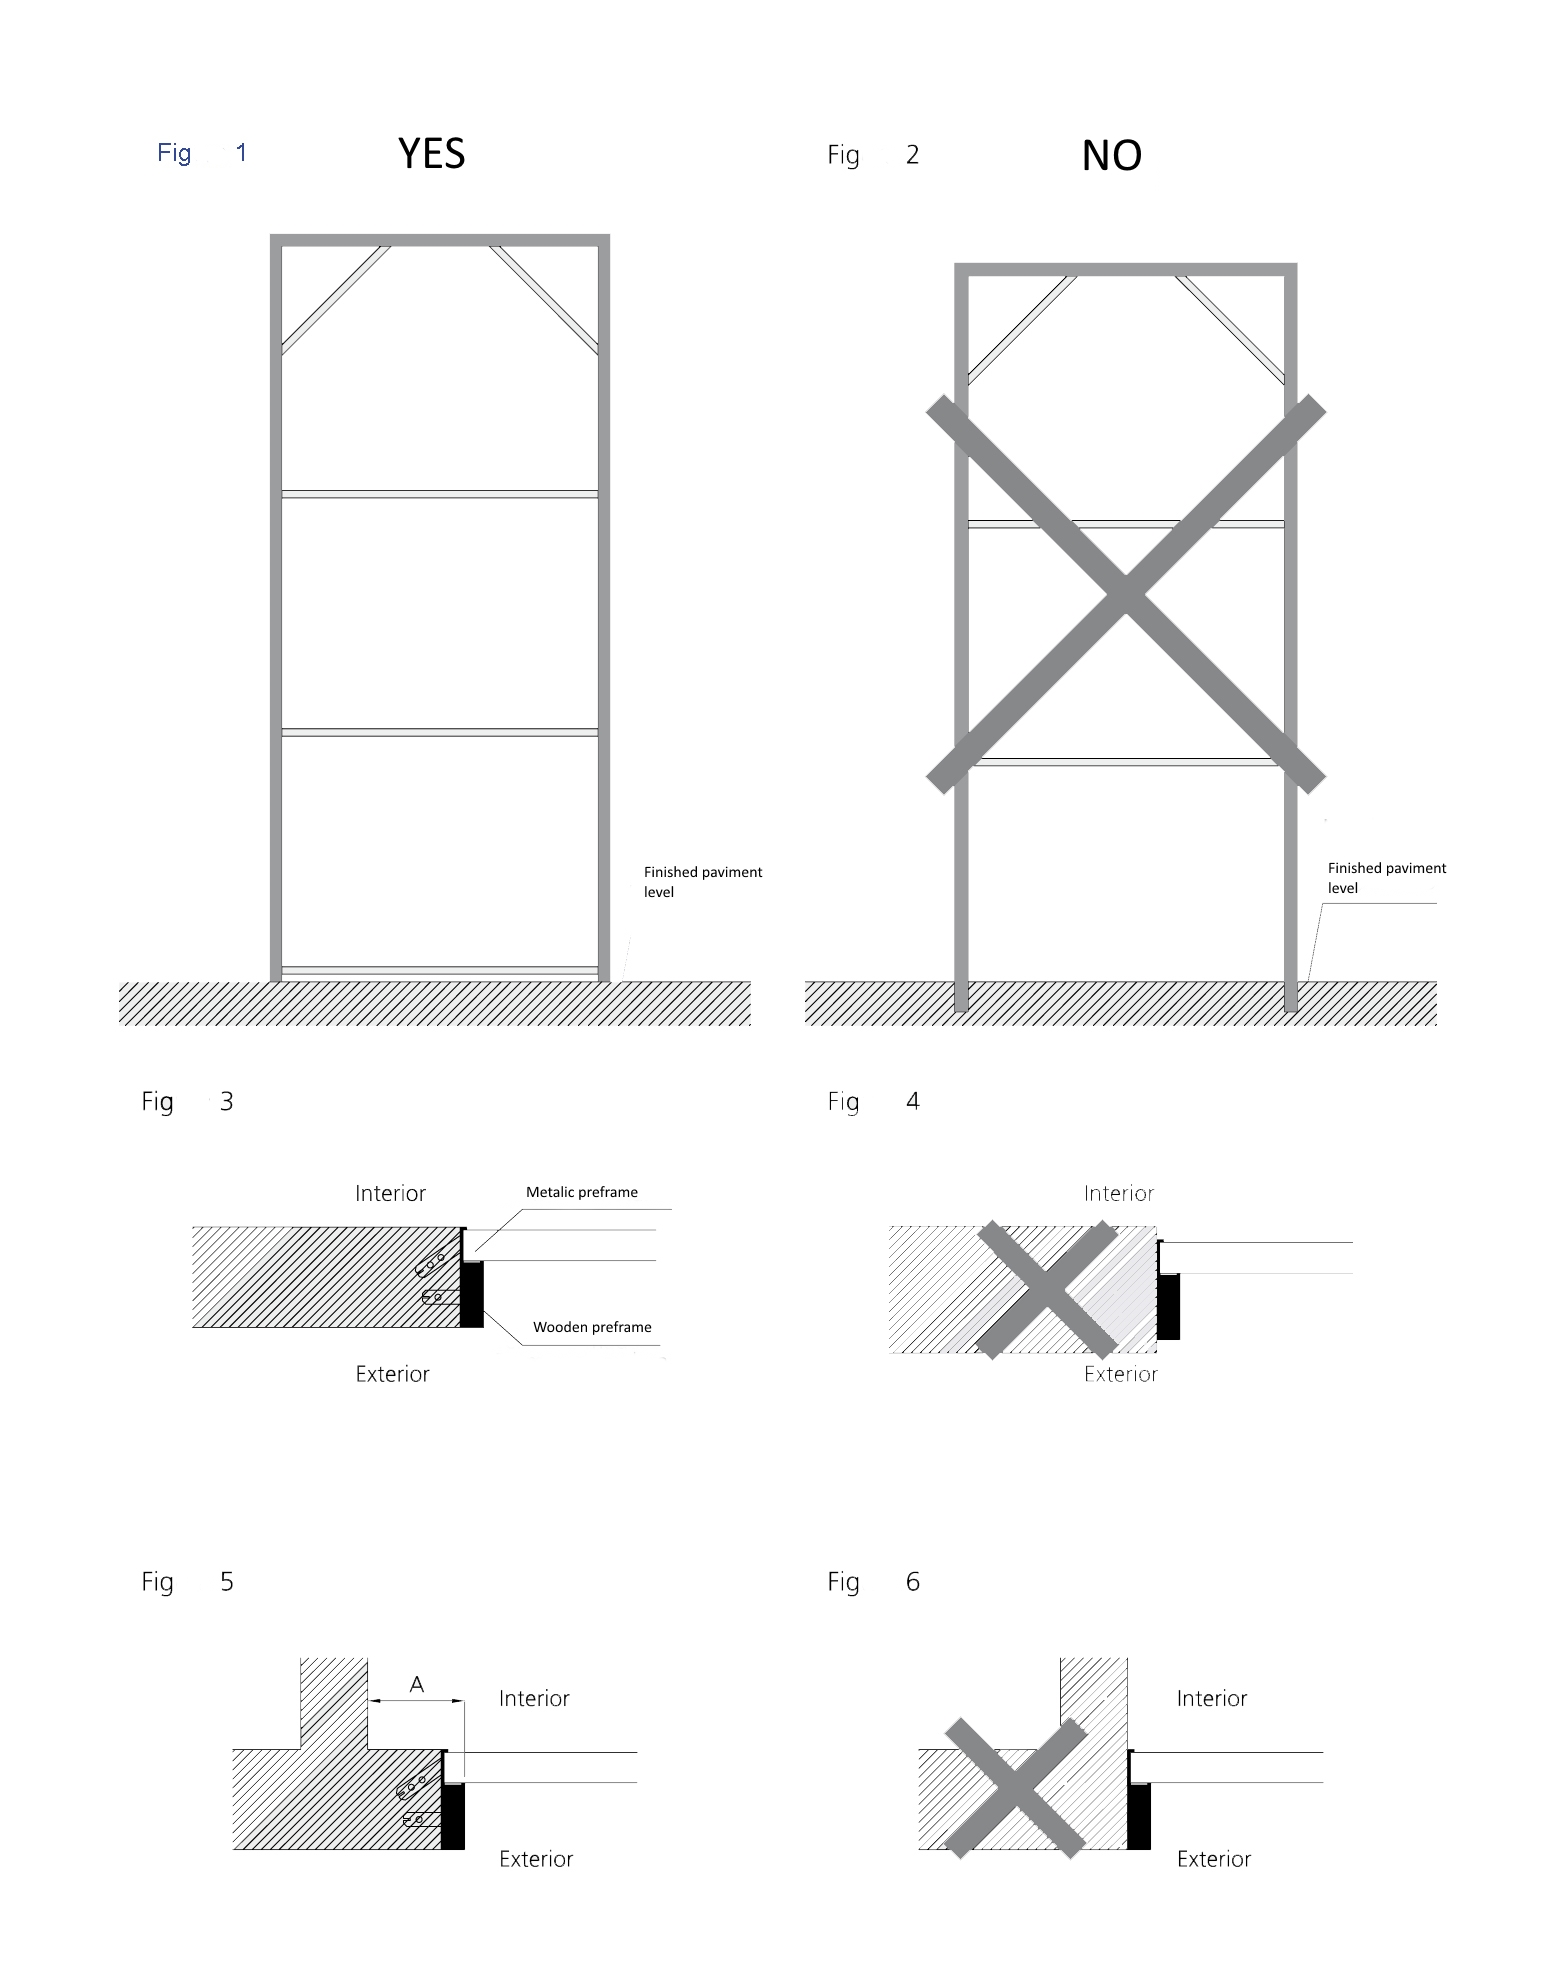
The subframe must be based on the finished pavement or leaving enough space to pass the floor (see fig. 1) and should never be embedded in the floor (see fig. 2).
The thickness of the finished facing, must equal to the subframe manage by the customer (see Fig. 3),
and never exceed the facing wall to the thickness of any of the sub-frame parts (see fig. 4).
Some facing perpendicular to the subframe received in any of the parties should be at least 7 cm must separate. (A), to successfully install the door (see Fig. 5) and never facing flush less than 7 cm. (A).
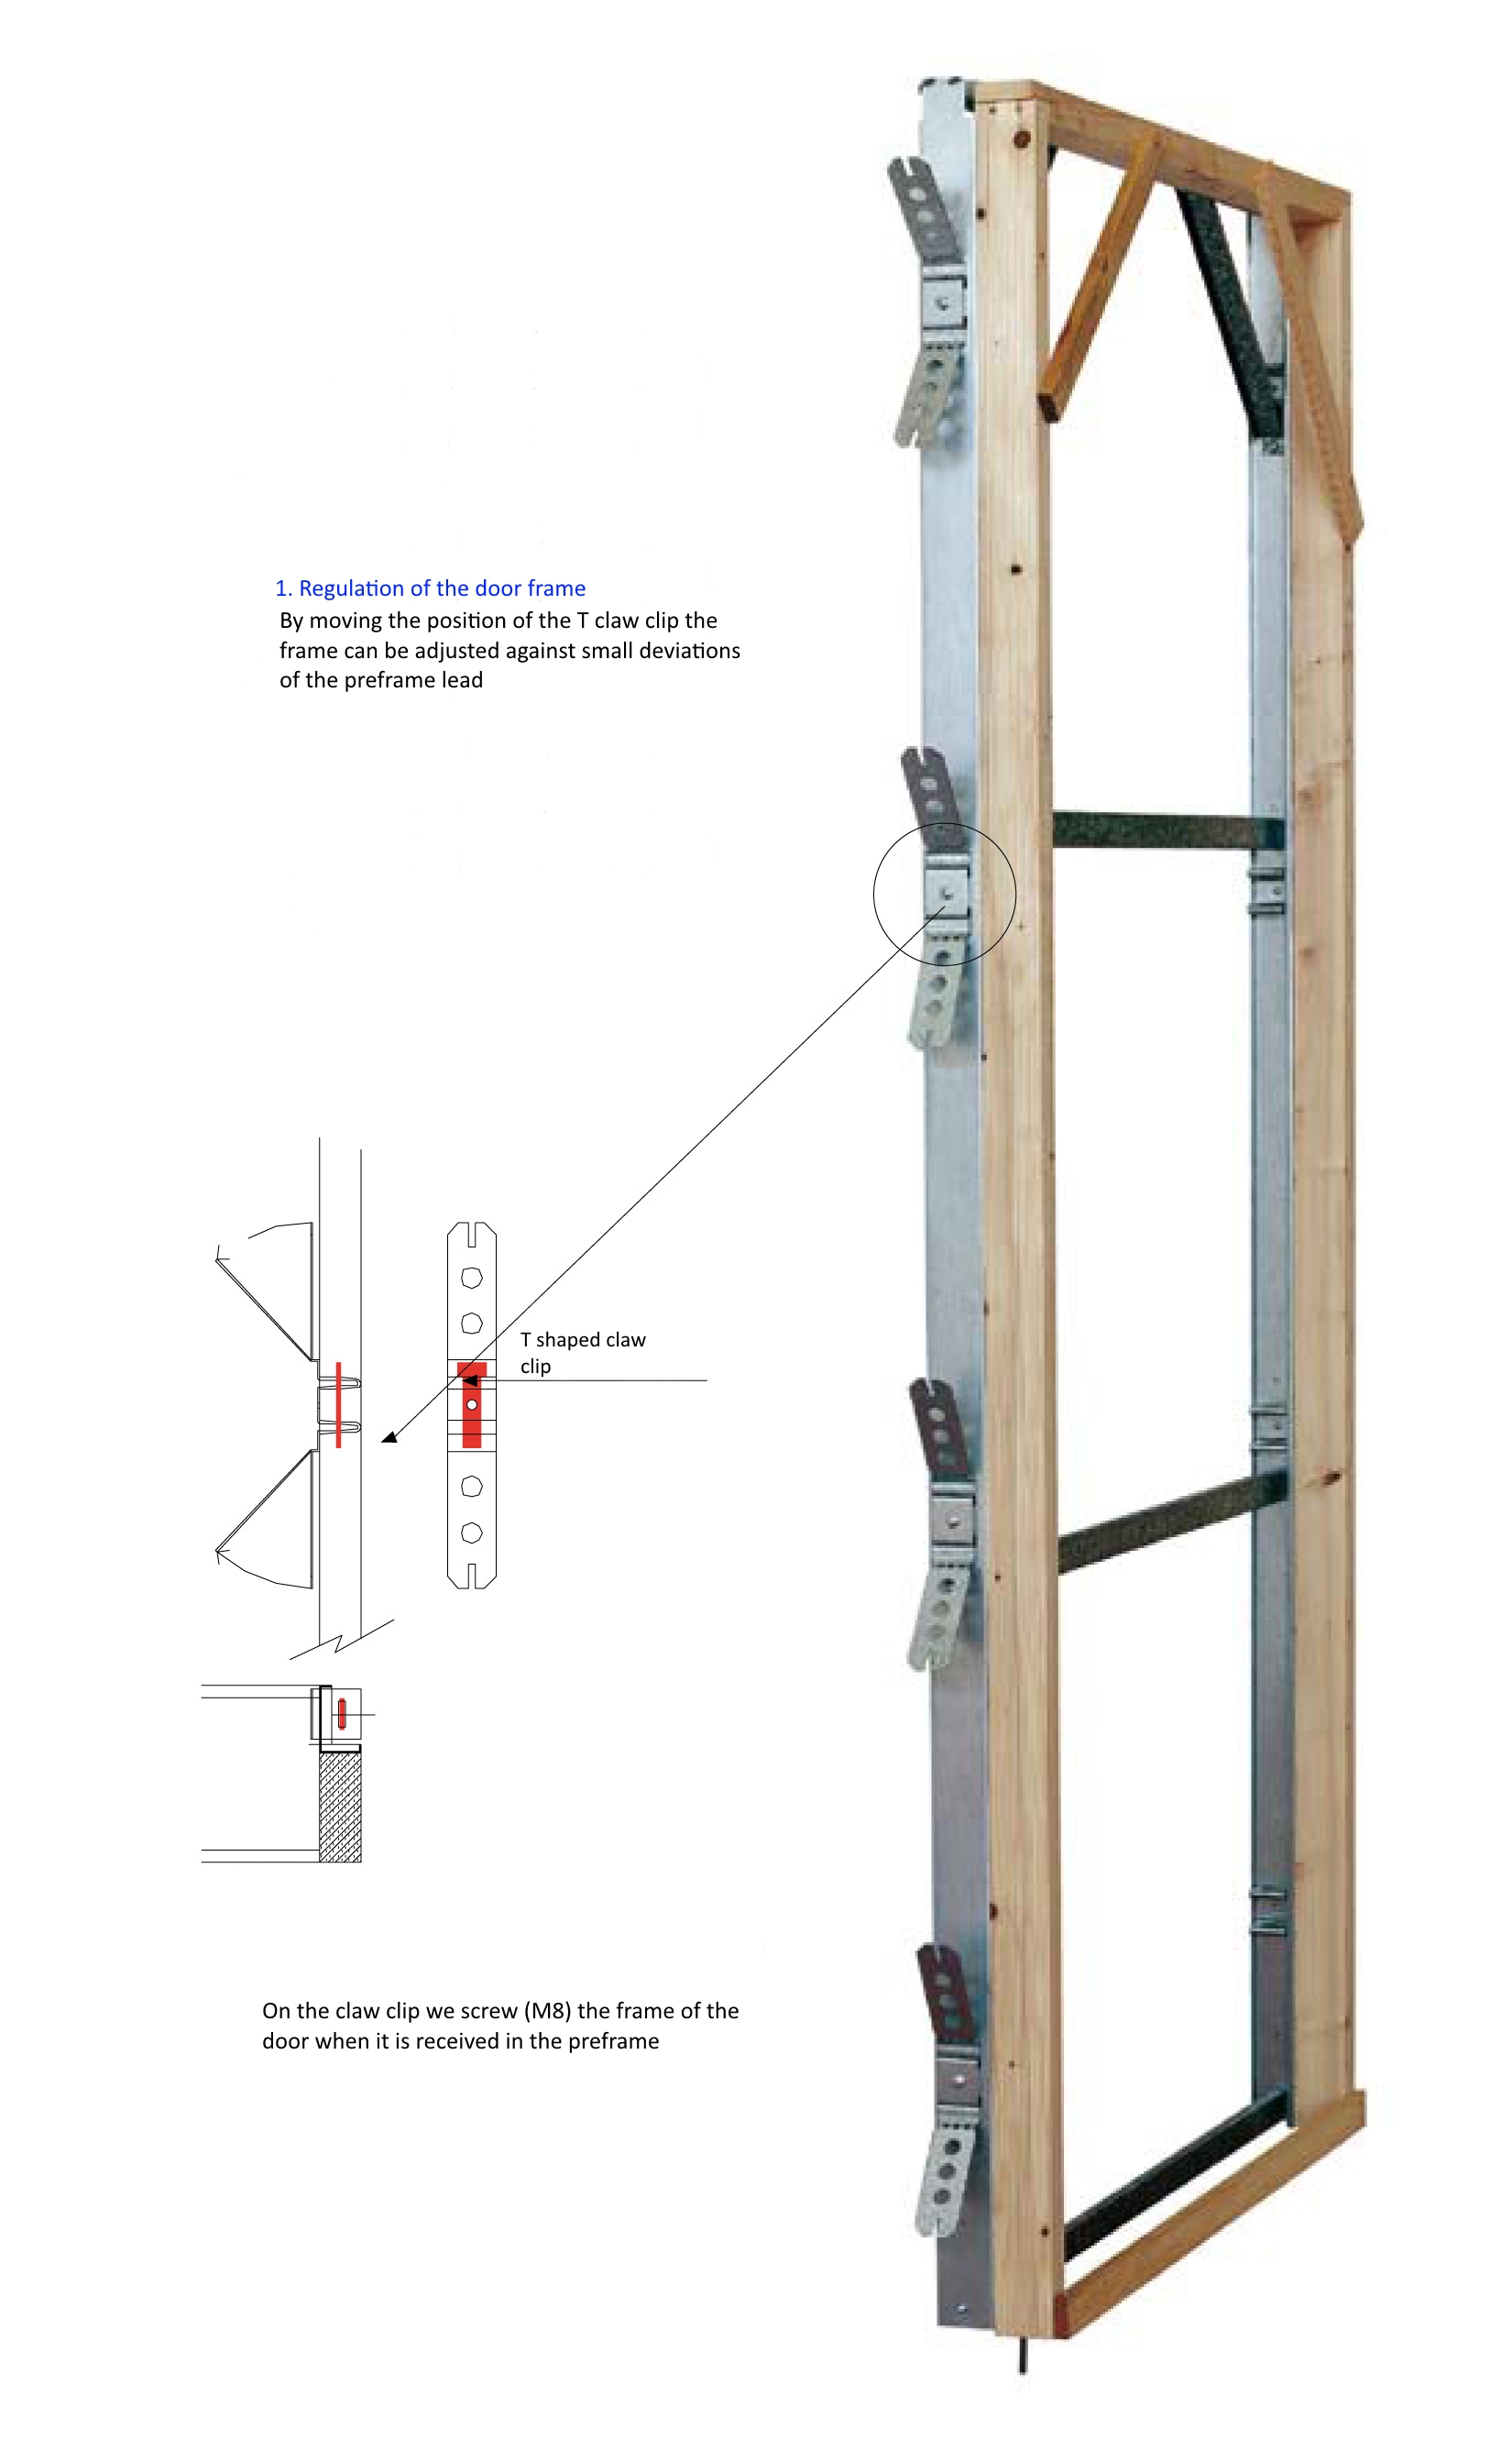
The subframe struts should not be removed till to be received and setting the subframe on site. The subframe must be perfectly plumb on both sides to avoid problems installing the door.
The claws anchoring both the metal part as wood, should be opened, to be received at work (see Figures 3 and 5). Each sub-frame is accompanied by the assembly instructions in relevant work.
The pallets are served subframes and a number that will depend in each case of transport chosen, since there is no restriction by weight but by volume.
Outdoor installation
The subframe is a fundamental and important part in the armored door because it is the component who bear the weight of the door and transmit the fixation to the wall.
The material completion of the exterior facade must end and on the edge of the deck screed as directed by the band of red or blue (see Fig. 7).
The subframe must be based on the finished pavement or leaving enough space to pass the floor (see fig. 1) and should never be embedded in the floor (see fig. 2).
The thickness of the finished facing, must equal to the subframe manage by the customer (see Fig. 3),
and never exceed the facing wall to the thickness of any of the sub-frame parts (see fig. 4).
Some facing perpendicular to the subframe received in any of the parties should be at least 7 cm must separate. (A), to successfully install the door (see Fig. 5) and never facing flush less than 7 cm. (A).
The subframe struts should not be removed till to be received and setting the subframe on site. The subframe must be perfectly plumb on both sides to avoid problems installing the door.
The claws anchoring both the metal part as wood, should be opened, to be received at work (see Figures 3 and 5). Each sub-frame is accompanied by the assembly instructions in relevant work.
The pallets are served subframes and a number that will depend in each case of transport chosen, since there is no restriction by weight but by volume.
Type of installations
The interior assembly is done inside buildings
To preserve the wooden elements
The assembly sequence would be the following:
- Receive pre-frame
- Screw frame
- Hang leaf
- Adjust the door
- Place tapeta y galce
Exterior assembly, finish on site
The exterior assembly is done outside the buildings. Using the work to cover the pre-frame
The assembly sequence would be the following:
- Receive pre-frame
- Screw frame
- Hang leaf
- Adjust the door
Exterior mounting, metal flap finish
The exterior assembly is done outside the buildings. Using a metal flap to cover the pre-frame.
The assembly sequence would be the following:
- Receive pre-frame
- screw metal flap
- Screw frame
- Hang leaf
- Adjust the door
Direct frame mounting, interior / exterior doors
The direct frame assembly is done both on the outside and inside the buildings.
The difference is that the door is finished with the pre-frame mounted, ready to receive on site. The assembly sequence would be the following:
- Receive door
- Adjust the door
Interior assembly, with screwed pre-frame
The interior assembly is done inside buildings. To preserve the wooden elements. The claws are replaced by screws.
The assembly sequence would be the following:
- Screw pre-frame
- Screw frame
- Hang leaf
- Adjust the door
- Place tapeta y galce
Dry partition installation.
A special claw is used that makes contact with the resistant face.
The assembly sequence would be the following:
- Receive pre-frame
- Screw frame
- Hang leaf
- Adjust the door
- Place tapeta y galce
Assembly reform, without pre-frame
The assembly reform without pre-frame.
The assembly sequence would be the following:
- Cajear old pre-frame
- Plumb and screw frame
- Hang leaf
- Adjust the door
Preframe and leaf regulation
Adjustment of inclination of the leaf in the hinge
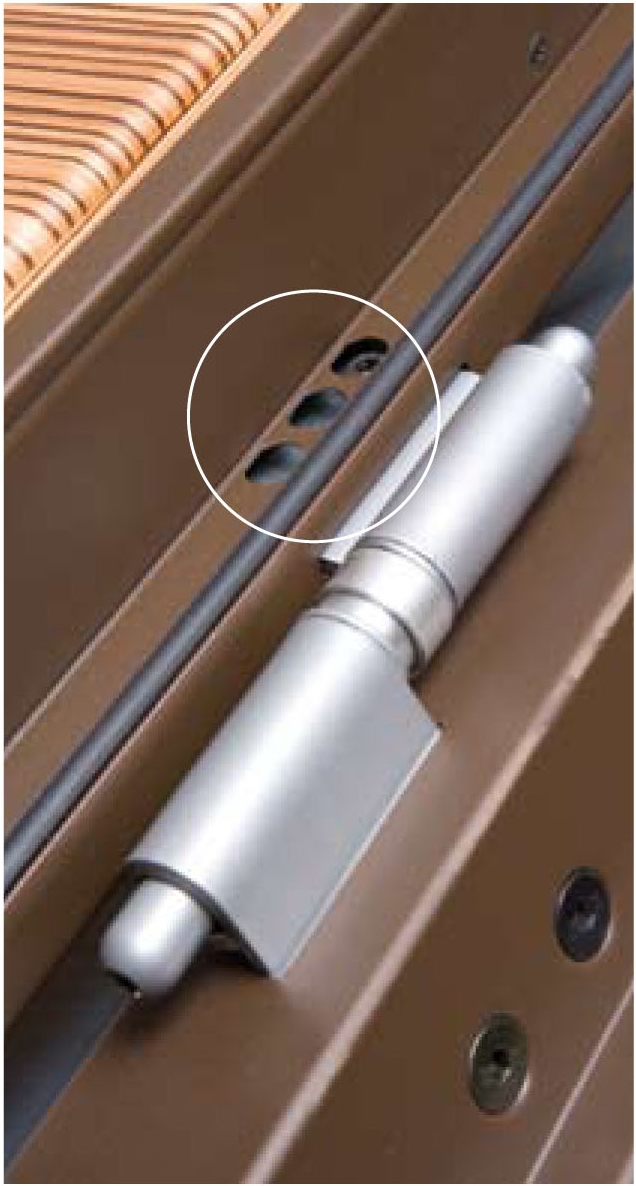
Positions to regulate the inclination of the leaf in each hinge
Height adjustment of the leaf on the hinge
Height adjustment of the leaf on each hinge, using an allen wrench
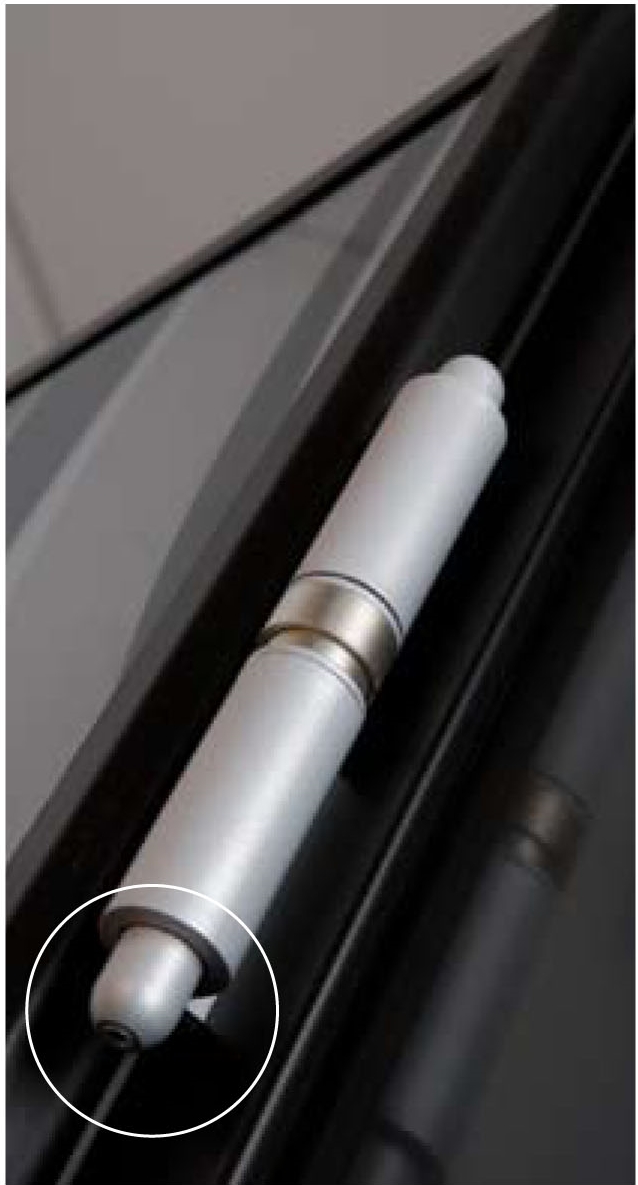
Windstrip regulation
The central screw is used in order to move the plastic piece. Windstrip embedded in the leaf that is activated when closing it.
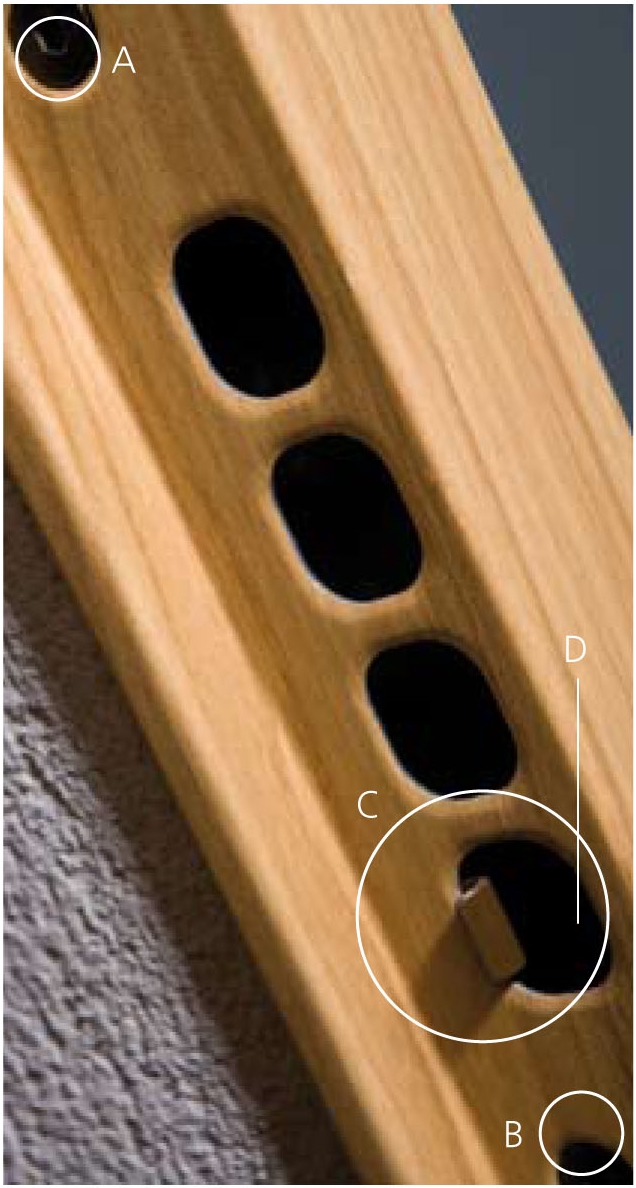
Adjustment of the leaf clearance at closing
By loosening the screw in figure (B) we can move the inner part (C) that includes the anti-card system so that the opposite piece shows and stops the latch. The screw in figure (A) is not used to adjust, only to change the anti-card system if necessary
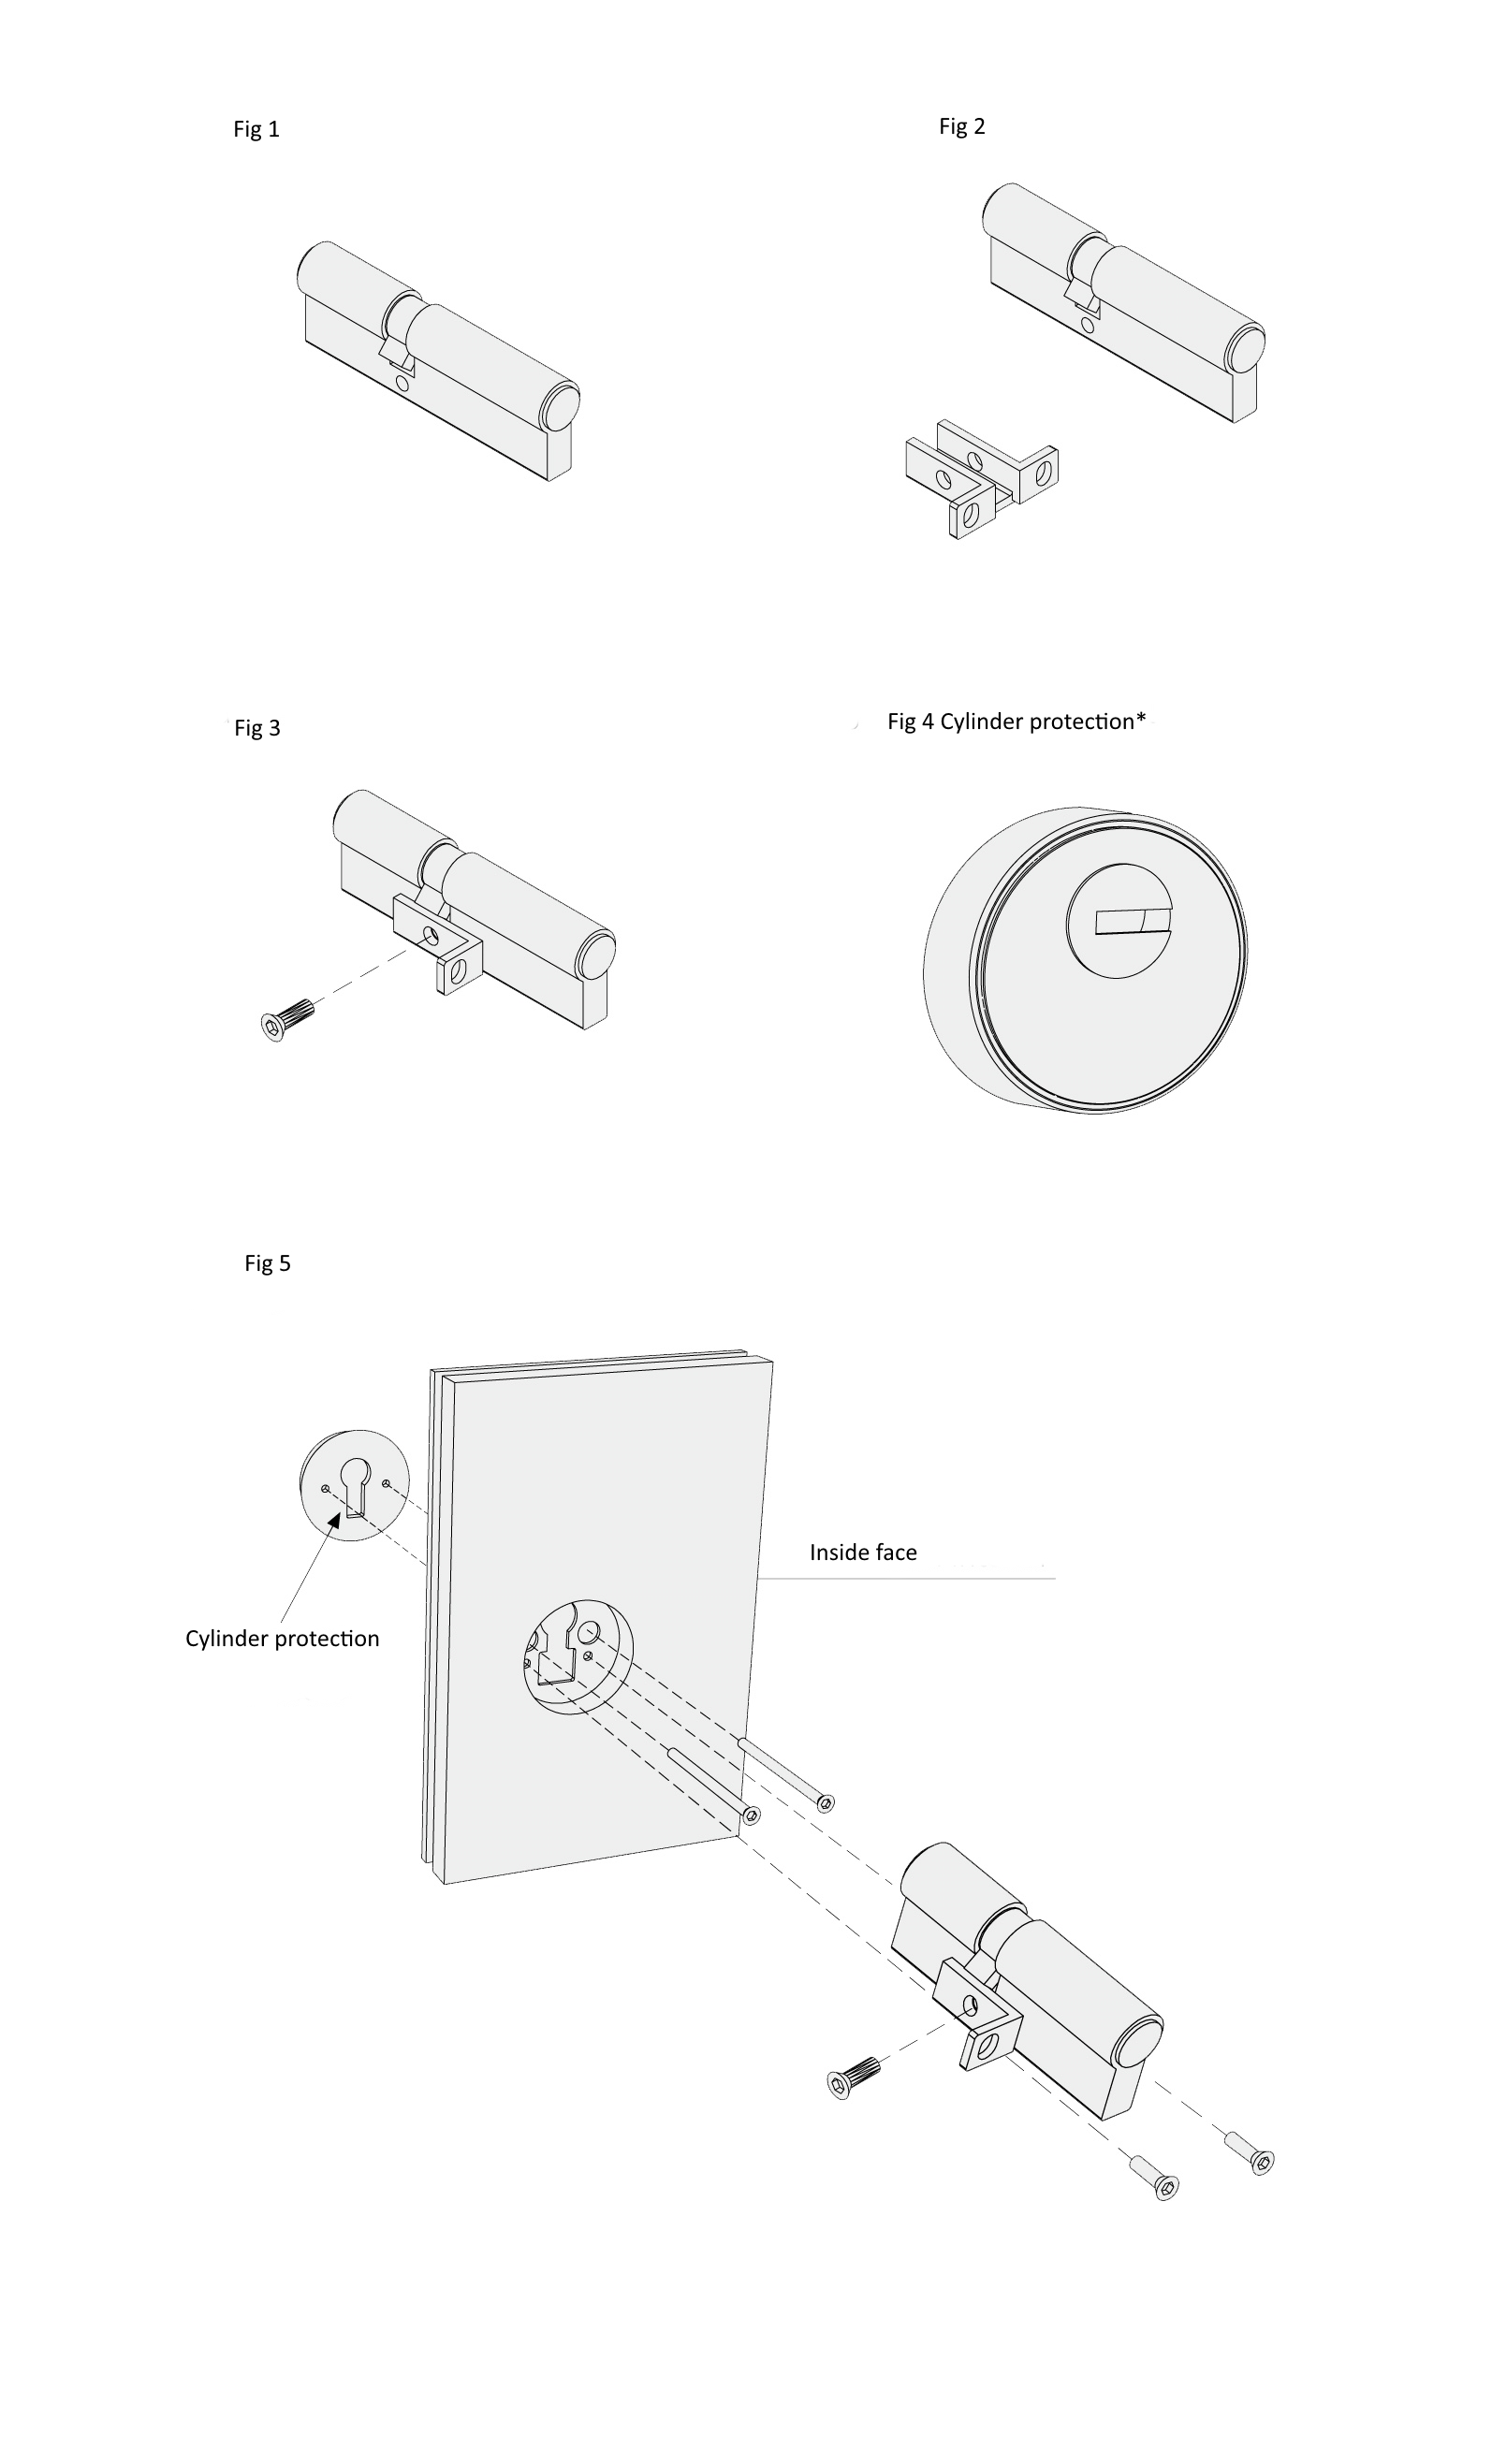
Cylinder and protector fitting
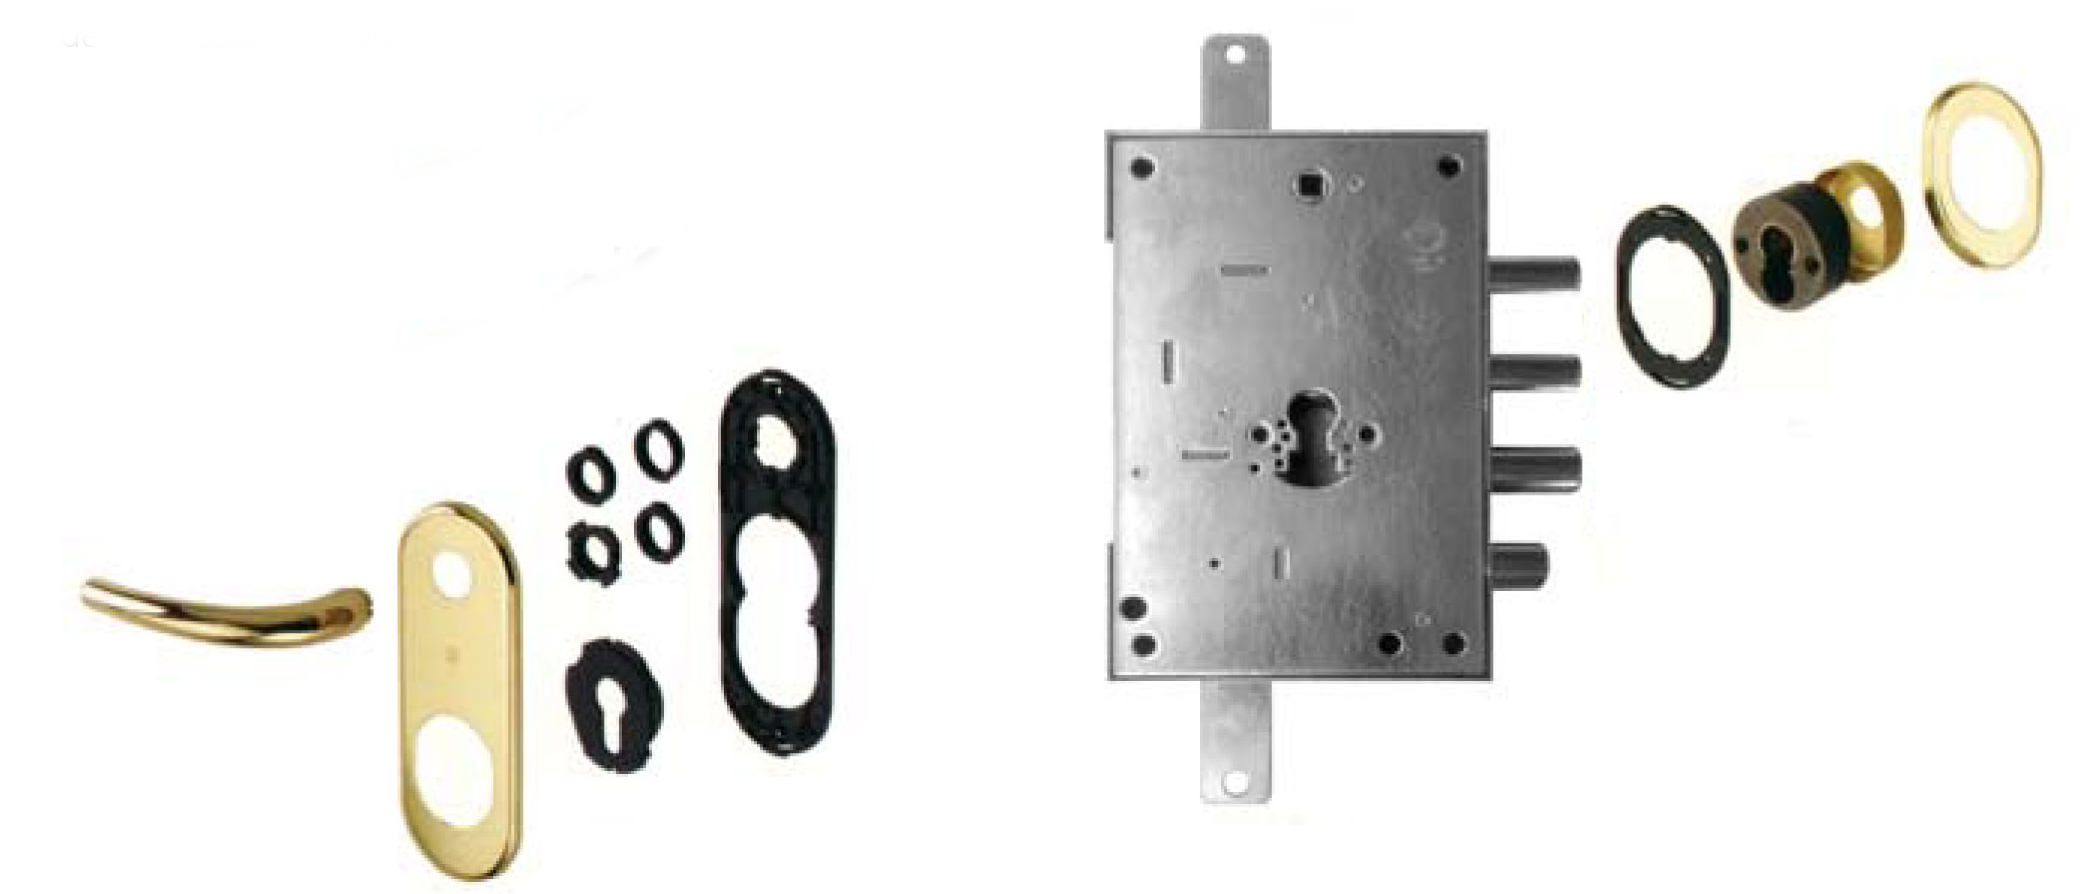
Handle installation
Cylinder protecting shield and handle diagram
Door knob diagram
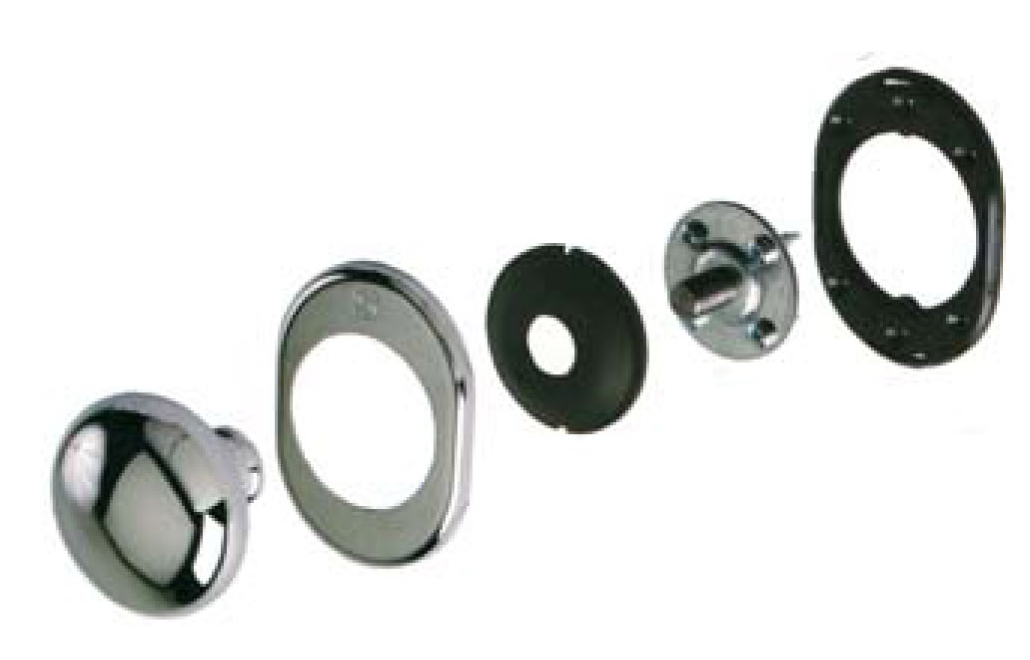
Restrictive opening knob diagram
